vegan

Gluten free and extra spicy vegan gingersnaps; a modern take on an ancient cookie by Suzanne

Gingersnaps appeared commercially in the mid 1800s but we can trace this cookie’s roots to medieval times. It’s believed to have been invented by monks in 13th century Germany.

Typically, gingersnaps are flavoured with molasses and spices like cinnamon, clove, ginger and nutmeg. They’re prepared in varying textures and thicknesses too.

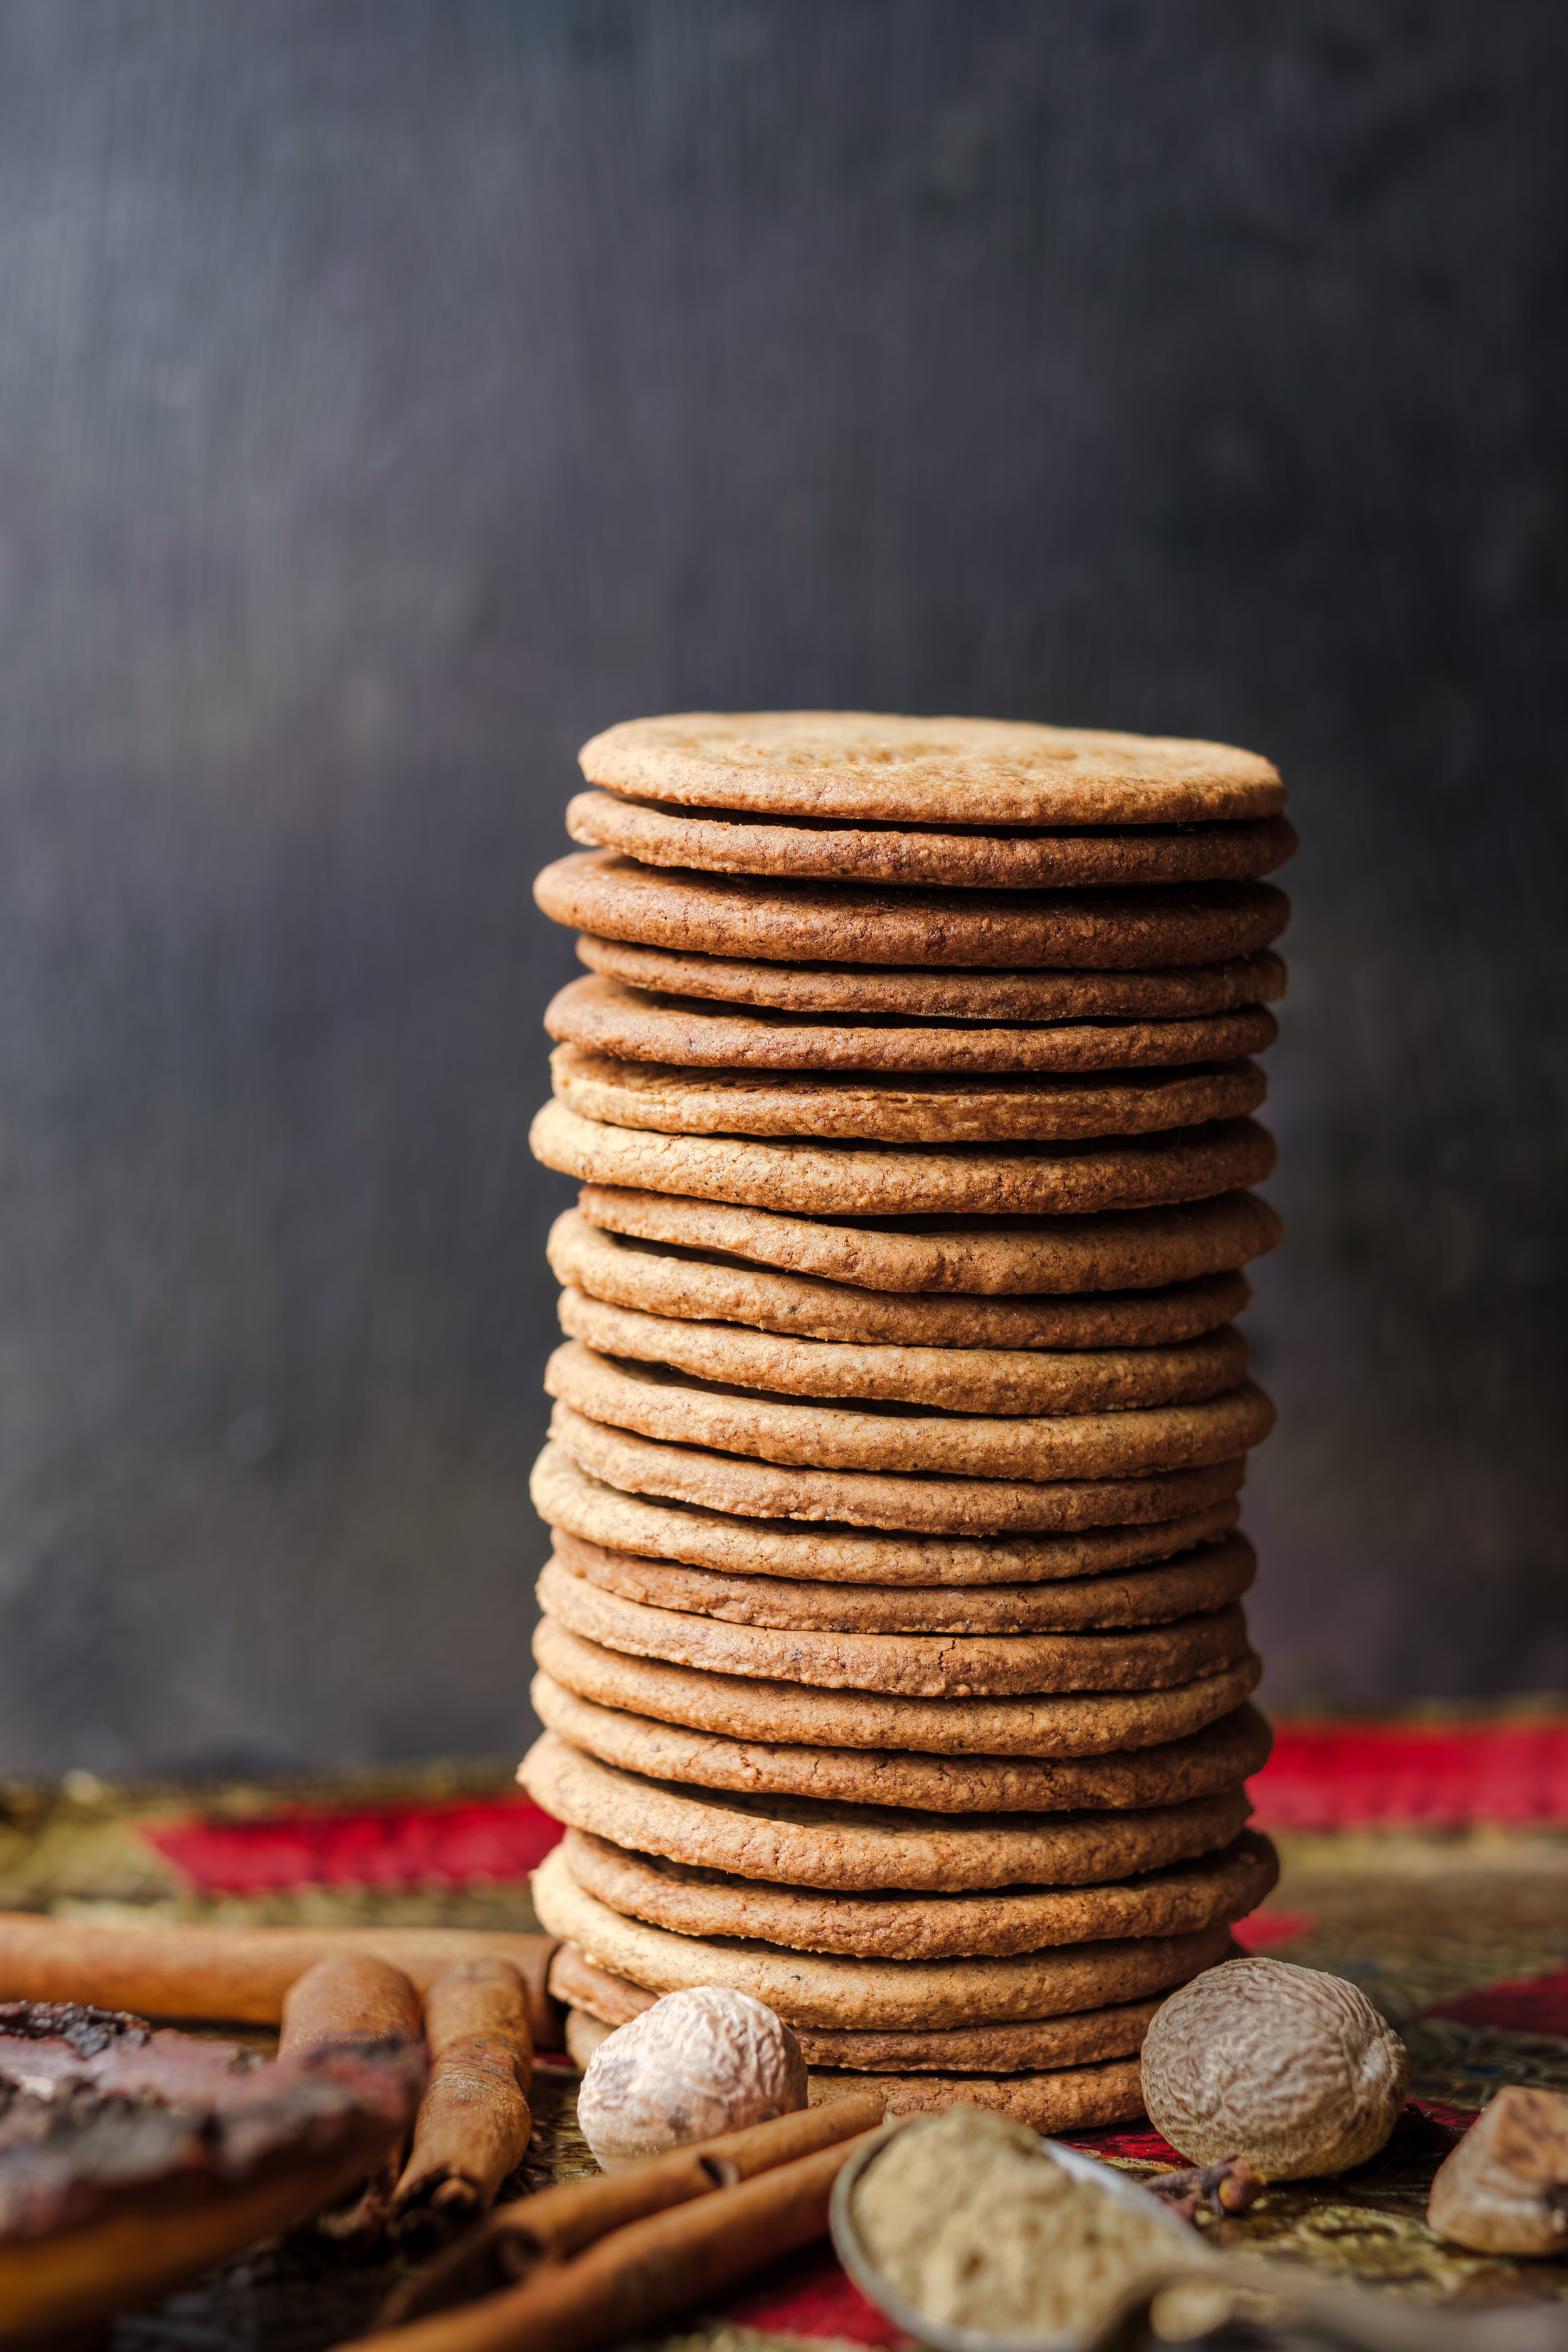
I love versions that are crisp on the edges and chewy in the middle but this is not that kind of gingersnap. This one lives up to the name! It’s got an amazing light crispness and crunch.

This is a strongly flavoured cookie. I increase the amount of spice from that used in the original recipe and I include ground cloves and freshly ground black pepper. I use ground nutmeg in a pinch but I much prefer whole nutmeg, grated with a microplane. If you're out of ground cloves, like I was, grind a few whole cloves. And why not! Although it’s not necessary, using freshly ground spices rewards you with extra warmth and flavour.

You can even grind rolled oats if you don't have oat flour.  For one cup of oat flour add a cup and a bit more of rolled oats to the food processor and blend until it becomes a flour.

The cookie dough comes together beautifully and is easy to roll out. But I had some trouble transferring the unbaked cookies onto the cookie sheet. It was a warm day and the dough had softened and warmed quickly, and it was a challenge to scoop up the cookies without them losing their nice flat round shapes.

Briefly chilling the dough AGAIN - after you roll it out and before you start cutting the shapes - helps a lot, as does using a metal spatula lightly dusted with flour to scoop up the cookies.

Here’s another way to insure your cookies keep their shape. After you press the cookie cutter into the chilled dough and make all the shapes, carefully roll away excess dough from around the cookies and leave them on the parchment, undisturbed. Then slide the parchment onto the cookie sheet.

Of course it doesn't matter if the shapes get wobbly and the cookies aren’t uniform. They will still be delightfully crisp and taste delicious.

Yet it's quite nice to see them neatly stacked, all relatively the same shape and size, especially if you intend to gift them. The brittle structure of these gingersnaps makes them an excellent cookie to package and give away.

Original recipe here.

Gluten free and extra spicy vegan gingersnaps (makes about 30 cookies)

1/4 cup maple syrup

3 Tbsp coconut sugar or brown sugar (or even white sugar, I've tried them all, successfully.)

3 Tbsp melted coconut oil

2 Tbsp molasses

2 tsp ground ginger

2 tsp ground cinnamon

1/4 tsp ground nutmeg

1/4 of ground ground clove

freshly ground black pepper, about 10 turns of the pepper grinder

1/2 tsp baking soda

1/4 tsp sea salt

1 cup oat flour

1/2 cup almond flour 

1/4 cup arrowroot flour/starch

Preheat the oven to 350 degrees F (176 C).

Line two large baking sheets with parchment paper.

Begin by mixing together the maple syrup, coconut sugar, melted coconut oil, molasses, ginger, cinnamon, nutmeg, clove, black pepper, baking soda and sea salt until well combined.

Then add in your oat flour, almond flour and arrowroot starch and mix with a stiff spoon until everything is blended well.

Form the dough into a flattened disc, wrap in parchment and refrigerate for 30 minutes.

Remove from the fridge and allow the dough to rest for a minute then place in the centre of a sheet of parchment paper lightly dusted with some arrowroot starch. Lightly dust the top of the dough with more arrowroot starch and place another sheet of parchment paper on top and begin to roll the dough into a large circle about 1/16-inch thick. Rolling your dough as thinly as possible results in cookies that are light and crisp. Place the dough in the refrigerator once more to chill for 5 to 10 minutes.

Use a cookie cutter to cut out as many cookies as you can. I used a small drinking glass with an approximate 2 1/2 inch diameter with the rim lightly dusted with arrowroot starch.

Now you have options.

Use a metal spatula lightly dusted with arrowroot starch to transfer the cookie shapes onto your parchment-lined baking sheet about 1 inch apart.

Or do as I did and remove the excess dough from around the cookie shapes and leave them in place on the parchment. Then lift or slide the parchment paper carefully onto the cookie sheet.

Combine remaining dough scraps and repeat until all of the dough is used up.

Bake the cookies for 9 to12 minutes. The longer you bake them the crisper and darker they will be. Cool on the pan for 10 minutes before transferring to a cooling rack.

Store in an airtight container for several days at room temperature, and for even longer in the refrigerator and freezer. You can also freeze the dough and defrost in the refrigerator before rolling out to bake.
No-bake chocolate peanut butter squares, vegan and gluten free by Suzanne

no-bake chocolate peanut butter squares

My mother, a school teacher by profession, was a wonderful baker who baked regularly, in cool weather and in warm. At some point, she put a second oven in an unfinished room in the basement of our family home, which allowed her to bake molasses cookies, cinnamon rolls or blueberry pies on hot summer days and for the rest of house to remain cool.

We don’t have a second oven in our basement but I do have this dessert recipe that’s great to make no matter the temperature but especially great if you are craving a yummy dessert that requires no baking.

These no-bake squares are also the perfect package to deliver the winning combination of chocolate and peanut butter. They take no more than 15 minutes of prep time and they’re nourishing too. Especially if you select quality ingredients.

chocolate peanut butter squares, vegan

The base is made in the food processor with oats, dates, peanut butter and salt. I use lovely soft medjool dates and a wholesome peanut butter that’s a little on the runny side. I use large rolled oats but quick oats do the trick as well. If your dates are especially dry you might soak them for a bit in warm water. Otherwise, your base mixture might be dry and crumbly.

The top layer is made of gently melted chocolate (semi sweet, bitter sweet, milk or the dark stuff) and a bit of peanut butter.

I’ve also included a simple method for making your own chocolate using cocoa powder, maple syrup and cocoa butter. It’s divine and super easy to make.

chocolate peanut butter squares, vegan

No-bake chocolate peanut butter squares

Adapted from and inspired by this recipe.

Base:

2 cups old fashioned or quick oats

1 cup pitted soft dates, packed (if hard and tough soak in warm water and then drain)

1 cup peanut butter

1/4 tsp salt (or more to taste)

1 tsp vanilla extract

Line a 8 x 8 pan with enough parchment so you can easily lift the squares out of the pan when it’s time to slice them.

Place oats and salt into the food processor. Blend while adding the dates, a couple at a time until processed well. Mixture will still be dry.

Add peanut butter and vanilla. Continue to process for one to two minutes or until you achieve a big sticky mixture. If it’s too crumbly add a bit of water or more peanut butter

Warm your hands and press the mixture into a 8 x 8 pan lined with parchment paper .

Place in fridge or freezer while you prepare the top layer.

Top Layer (two options):

1 cup finely chopped cocoa butter

5 tbsp maple syrup

1/4 cup peanut butter

1/2 cup unsweetened cocoa powder

1 tsp vanilla extract (optional)

pinch of sea salt to sprinkle on top (optional)

Chop the cocoa butter. Place in a heatproof bowl set over a pot of simmering water. Add cocoa powder, peanut butter, maple syrup and vanilla. Stir occasionally.

When mixture is half way melted, remove from heat and continue to stir until everything is melted and well blended.

OR

1 cup finely chopped chocolate or chocolate chips

1/4 cup peanut butter

1 tsp vanilla extract (optional)

pinch of sea salt to sprinkle on top (optional)

Chop chocolate. Place in a heatproof bowl set over a pot of simmering water. Add peanut butter and vanilla. Stir occasionally.

When mixture is half melted, remove from heat and continue to stir until everything is melted and well blended.

Remove base from fridge. Pour on the melted chocolate and spread evenly with the back of a spoon or by tilting the pan from side to side to side to evenly distribute the chocolate. Sprinkle with sea salt.

Return to the fridge and let sit until slightly solidified but not so hard you can’t easily slice. When it’s time to cut, lift the squares from the pan and slice into bite-sized or large squares by pressing a warmed blade of a large knife down firmly and then dragging it back in a single motion.

Store in an air tight container in the fridge. I don’t know how long they will last because we eat them in a week or less. I imagine they will keep at least two weeks in the fridge and even longer in the freezer.

chocolate peanut butter squares, vegan

Power truffles by Suzanne

natural+light+suzanne,+power+truffles-6402.jpg

These truffles are the perfect treat to satisfy your sweet tooth and nourish your body. They’re easy to make so long as you have food processor.

natural+light+suzanne,+power+truffles-6391_1.jpg
natural+light+suzanne,+power+truffles-6400_2.jpg
natural+light+suzanne,+power+truffles-6410_3.jpg

Power truffles (from The Living Kitchen)

1 1/2 cups pitted dates 

1 cup raw walnuts

1/2 cup raw sunflower seeds

1/2 cup raw cocoa powder

1/2 tsp cinnamon

pinch of sea salt

2 tbsp virgin coconut oil, softened

1-2 tbsp water, if necessary

1 cup unsweetened coconut


Put walnuts and sunflower seeds in food processor and blend until coarsely ground. Be careful not to over process or the mixture will become oily.

Add cocoa, cinnamon and salt and process some more.

Next, add coconut oil and dates and blend until a dough forms. 

If you need to, add water, a tablespoon at a time, until the mixture is blended well and sticky enough to form into balls.

Scoop mixture out by the tablespoon and form into balls.

Put coconut in a bowl and roll each ball in it until completely covered.

*Notes:

Make sure to use fresh walnuts. Sometimes run-of-the-mill grocery store walnuts are bitter.

You can lightly toast the coconut for extra flavour.

Store in an air tight container in the fridge for 2 weeks or in the freezer for 2 months.

natural+light+suzanne,+power+truffles-6330_1.jpg